

Getting started
On first use, follow the four-step guide to import your music.
The overall flow
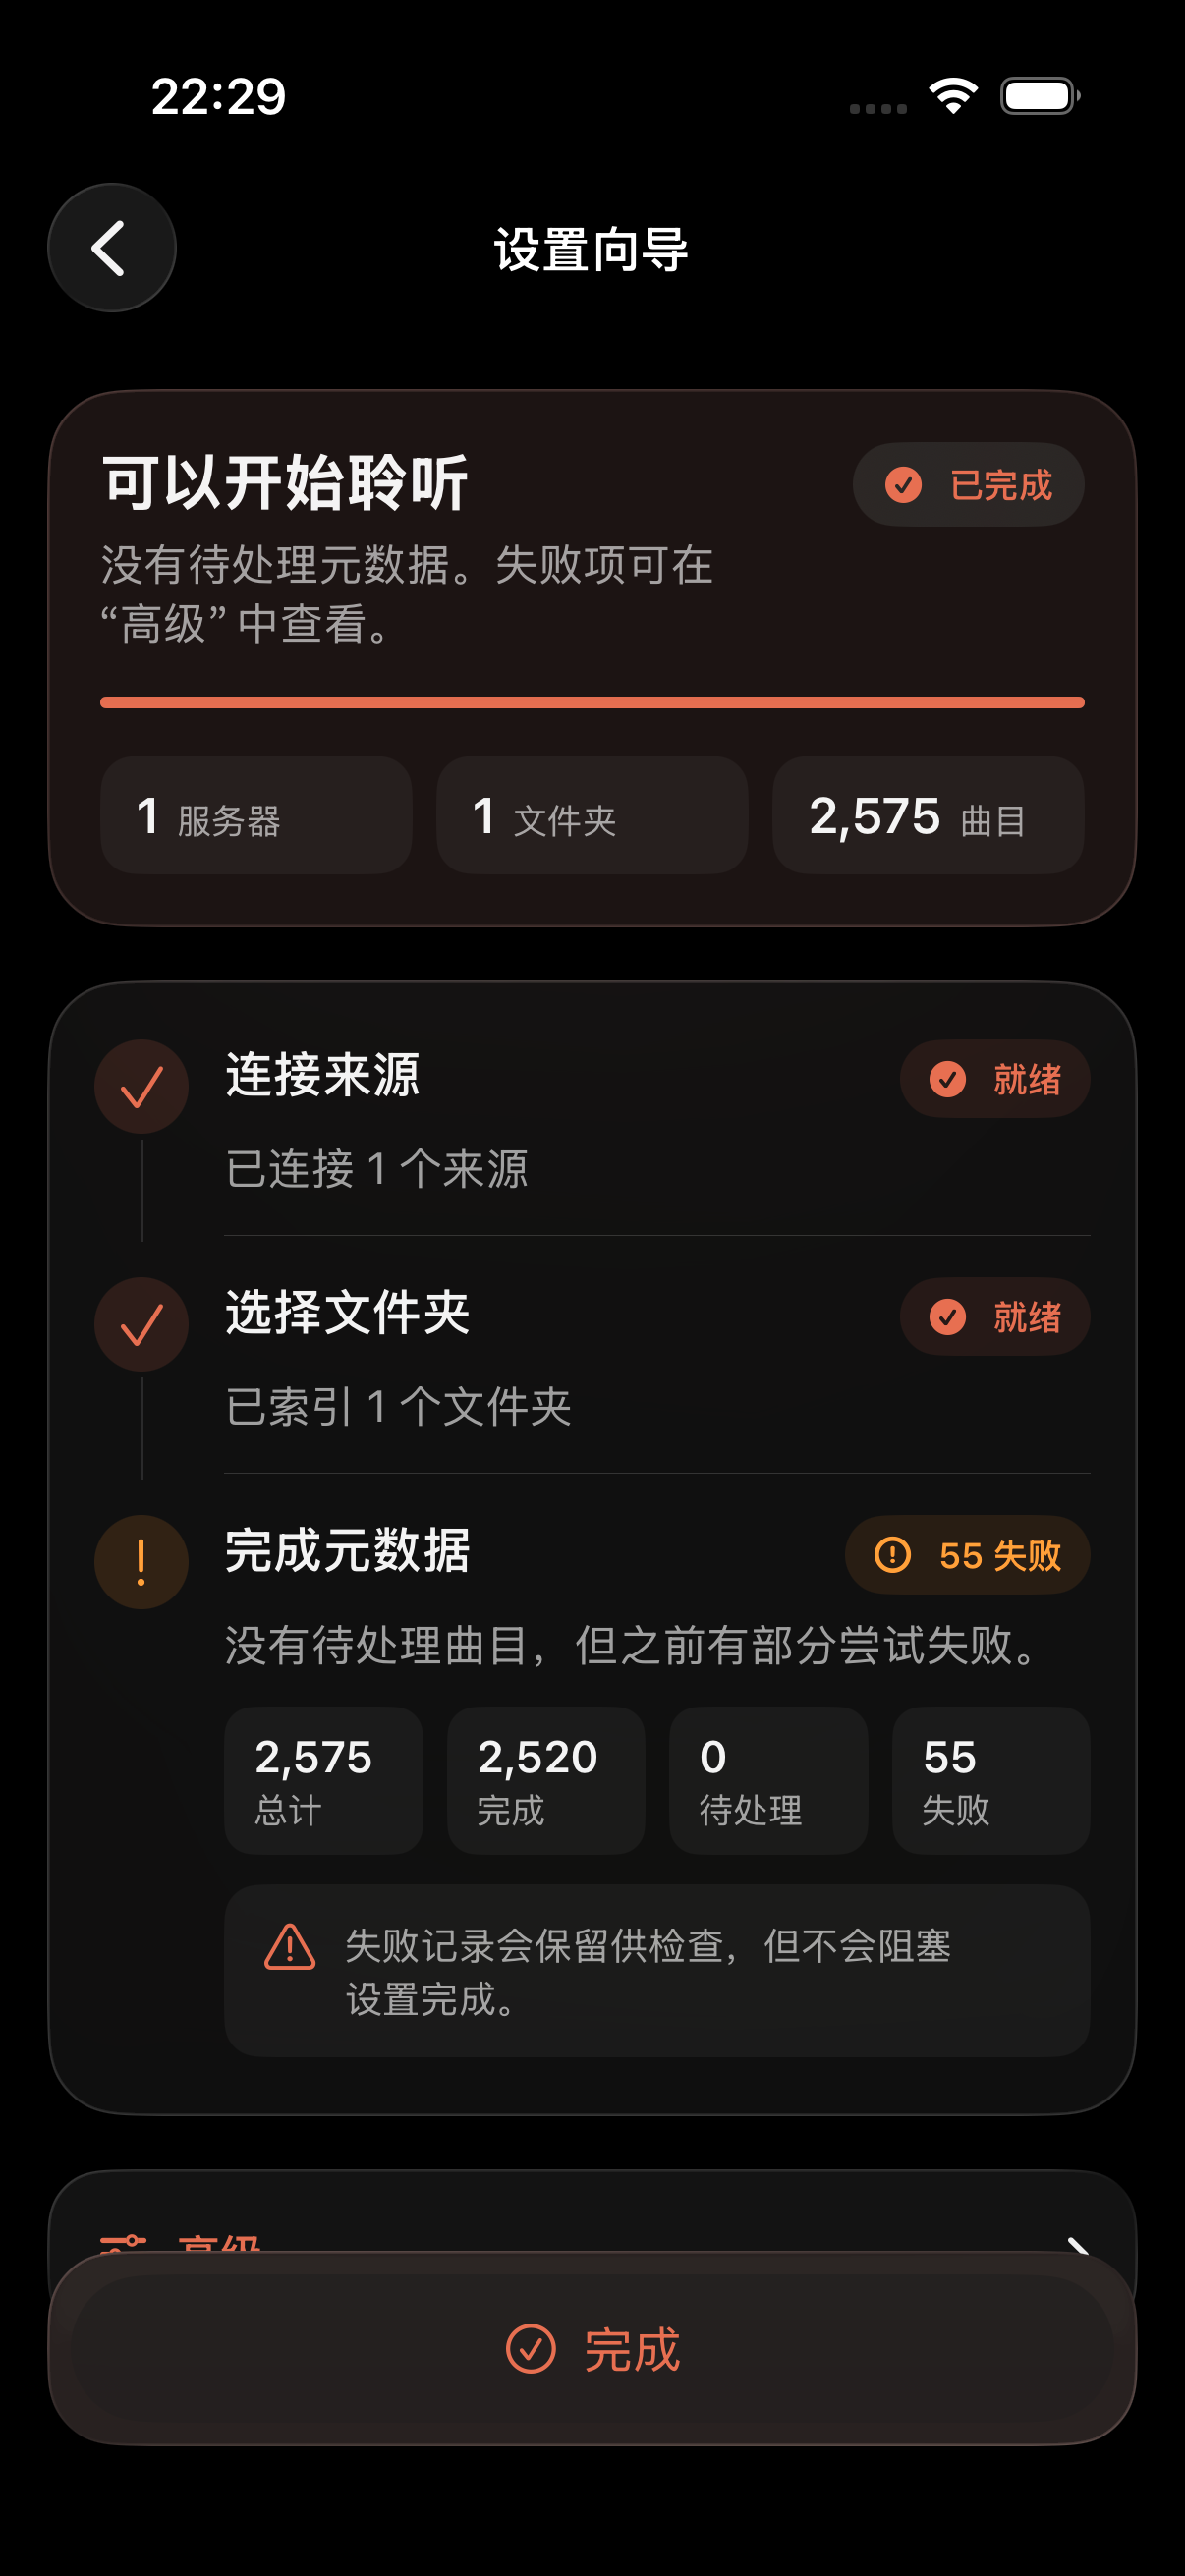
First launch walks you through four pages — welcome, connect a server, add your library, polish (artwork, lyrics, karaoke) — each explaining one step. Then it drops you into a setup wizard that tracks the rest (how many servers, folders, tracks, pending items) as a checklist.
The four steps
- 1
Welcome
A quick intro to what TuneSync does: wires your servers, folders, and player together.
- 2
Connect servers
Supports WebDAV, SMB, NFS, FTP. Connect a server first, then add folders to it. Manage every server's status and test connectivity in one place — once configured, it is ready to use, without switching between discovery and connection.
- 3
Add your library
Add only the folders you want to hear. Once added it plays, and TuneSync fills in artwork and lyrics along the way.
- 4
Polish
Artwork, lyrics, karaoke. Tap a karaoke-ready track to enter sing mode — lyrics scroll on their own, drop the vocal as low as you like, works on the lock screen and in the background.
See it again
Settings → User Guide reopens the tour; Settings → Setup Guide maintains a checklist of remaining steps to complete.
Permissions you'll be asked for
Only when you use the thing that needs it:
- Local network — to find LAN WebDAV / FTP / SMB / NFS servers
- Microphone — used for song recognition (identifying music playing nearby) and karaoke recording
- Speech recognition — transcribes the vocal on-device to add timing to plain lyrics
- Apple Music — so playback can continue in the background
Up next
Ready to connect a server? Read on in “Library”.